AutoWriter AI
Dense Sourdough: A Triage Guide to Finding Your Loaf's Real Problem
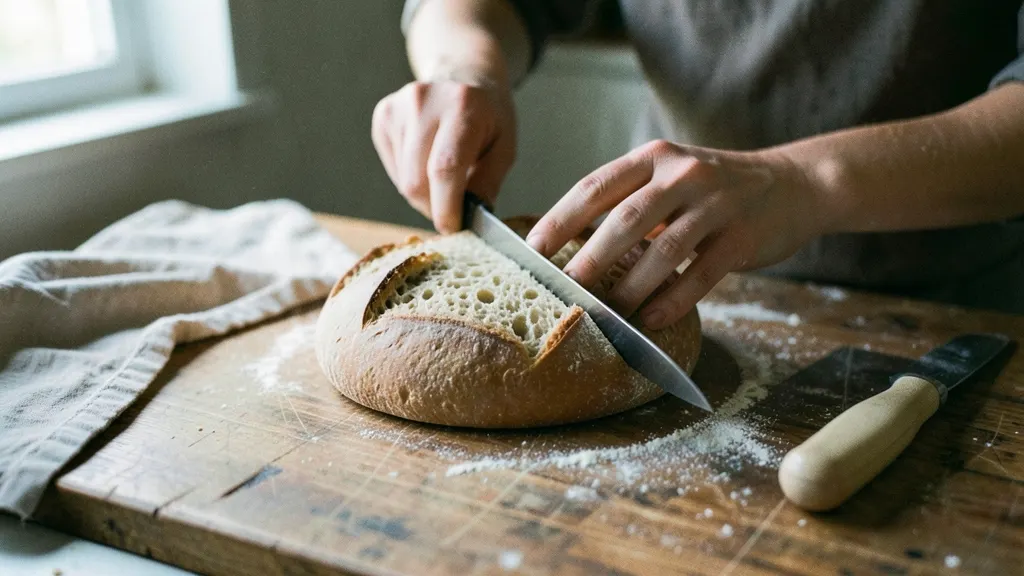
A dense sourdough loaf almost always comes down to one of three things: leavening that can't lift the dough, fermentation that ran too short or too long, or structure and bake problems that let a well-fermented dough collapse. That order matters, because a weak starter masks everything downstream. Fix the leavening first and the timing clues become readable; fix the timing and shaping problems finally show themselves.
This guide is built as triage, not a tip list. You run a few cheap tests, sort your loaf into one family of causes, then change a single variable per bake so you know what worked. The diagnostic table and the minimal bake log that follow are the working parts: symptom in, likely cause out, one first fix to try.
Table of contents
- Why the order of causes matters more than the list
- Is your starter actually strong enough to lift a loaf?
- Bulk fermentation: judging the dough, not the clock
- Final proof and cold retard: too short, too long, or too cold
- Shaping, surface tension, and the bake: when the dough is fine but the loaf still dense
- Hydration: more water is not automatically a lighter loaf
- One-page diagnostic table and when to stop
Why the order of causes matters more than the list
A dense loaf has maybe a dozen possible causes, and most bakers respond by changing four of them at once. Then the bread improves or worsens and nobody knows why.
Sort your loaf into one of three families before touching anything: weak leavening, wrong fermentation timing, or structural problems in shaping, steam and oven temperature.
Leavening comes first for a simple reason. A starter that peaks weakly and collapses early will under-ferment dough that was mixed and timed perfectly, so every signal you read later is distorted. Fix the starter, and half the remaining "problems" often disappear on their own. Timing comes next, because under- and over-proofing can look identical from the outside. Structure comes last: shaping and bake only get judged once the dough was sound to begin with.
Then change one thing per bake and write it down. Seven fields are enough:
- Date, flour and hydration
- Starter peak time
- Dough temperature
- Bulk time
- Final proof time
- Cold retard hours
- Oven temperature, steam, result
Without that log you are guessing from memory, and memory is generous.
Is your starter actually strong enough to lift a loaf?
Before you mix a dough, spend two minutes checking whether your starter can actually do the work. A starter that smells right but has lost its lift will produce a dense loaf no matter how carefully you ferment or shape.

- What ready looks like: domed, visibly bubbly, doubled or more since feeding, and smelling of yogurt or mild acetone. Nail polish remover is a sign of hunger, not readiness.
- The peak window is narrow: bake when the starter is at or just past its highest point. Starter left to collapse has spent its sugars and will leave your dough sluggish, which is one of the most common reasons for a dense sourdough loaf.
- The float test is a rough indicator only: a starter can float and still be weak, and a whole-grain or rye starter often sinks while being perfectly active. Don't let a sunken blob decide your bake day.
- Better test: build a small levain in a straight-sided jar, mark the level with a band or tape, and time how long it takes to double. Compare that against your usual schedule. A levain that takes far longer than normal, or stalls below double, is telling you something.
- Feed with intention: if the rise is slow or the peak is short-lived, adjust your ratio and schedule rather than adding more starter and hoping. Our guide to how to feed a sourdough starter covers ratios and timing.
If your starter passes these checks, the problem is downstream: move on to fermentation.
Bulk fermentation: judging the dough, not the clock
A recipe that says "bulk for 4 hours" is telling you what happened in the writer's kitchen on the day they tested it. Your kitchen is a different room, with different flour and a different starter. Watch the dough instead.
Signs bulk is ready: a visible rise, often somewhere between 30 and 75 percent depending on the recipe and flour; a domed rather than flat top; bubbles at the edge where dough meets bowl; a jiggly, marshmallow feel when you shake the bowl; and a slightly sour, yoghurt-like smell. None of these alone is decisive. Together they are.
The aliquot jar removes the guesswork. Right after mixing, spoon a small sample into a small straight-sided container, mark the starting level, and set it beside the bowl. Because the sample ferments at the same rate, you can measure rise precisely instead of eyeballing a wide bowl.
Dough temperature, not room temperature, sets the pace. A warm dough races; a cold one crawls. If your kitchen swings between morning and evening, the clock is even less useful.
When the loaf comes out dense, the crumb tells you which way you missed:
- Underproofed: dough felt tight and tore rather than stretched; crumb is tight and even with a tunnel or cavern just under the crust.
- Overproofed: dough went slack and sticky and spread instead of holding shape; crumb is flat, pale and full of large irregular holes.
Change one thing next bake, and write down the dough temperature and the rise you measured.
Final proof and cold retard: too short, too long, or too cold
The poke test is your best tool here, but it only means something if you've chilled the dough first. Flour a finger, press about 1cm into the dough, and watch:
- Slow spring back, dent stays visible: ready to bake.
- Fast spring, dent fills immediately: underproofed. The dough is still tight.
- No spring at all, dent stays put: overproofed. Bake it now, in a hot oven, and expect a flatter result.
Cold retard problems show up in how the dough feels after chilling:
- Too short: the dough is still tight and springs back quickly when poked. It hasn't had time to relax and develop flavour.
- Too long: the dough feels slack, may collapse when you score it, and can smell sharply sour. Past a point, the gluten has nothing left to give.
- Fridge too cold (near freezing): fermentation slows to a crawl, so an overnight retard barely proofs the dough. Too warm, and it overproofs while you sleep. Check your fridge with a thermometer rather than trusting the dial.
One structural check while you're here: if the dough went into the banneton as a loose, poorly shaped round, it will spread rather than rise, whatever the proof. A tight shape with visible surface tension is the starting point for any oven spring.
Shaping, surface tension, and the bake: when the dough is fine but the loaf still dense
If your starter is lively and your fermentation timing looks right, the problem is often mechanical. The dough had gas, but the loaf could not hold it.
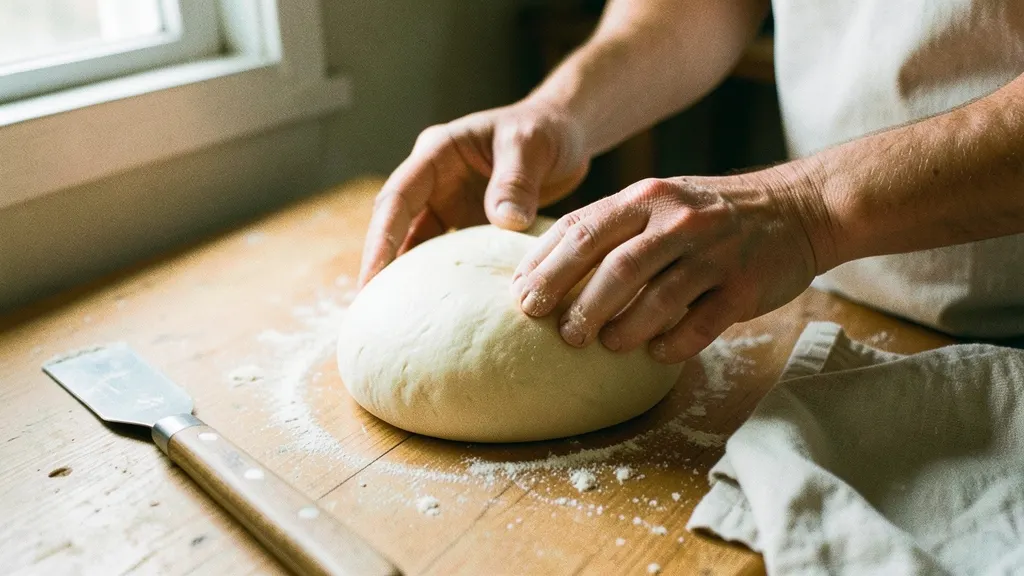
Shaping. A slack shape spreads outward in the oven instead of upward. After preshape, let the dough bench rest until it relaxes, then shape with real tension: drag the dough across the bench or stitch it into a taut ball. The surface should feel tight and slightly resistant, not loose. If it wobbles when you lift it, tighten it again.
Steam. The first 10 to 15 minutes of baking need a steamy environment so the crust stays flexible while the loaf expands. A dry oven sets the crust early, giving a thick, tight crust and a dense crumb. A covered Dutch oven, a tray of boiling water, or a spray bottle all work; pick one and use it every bake.
Oven temperature. Preheat thoroughly, often 30 to 45 minutes, and bake hot for that first phase before lowering the heat to finish the crust. An underheated oven produces pale, heavy loaves.
Flour choice. Whole wheat and rye absorb more water and give a naturally denser crumb, which is not a fault. Very low-protein flour can struggle to hold gas at all. Check best flour for sourdough for protein levels and which types suit a lighter loaf.
Hydration: more water is not automatically a lighter loaf
Water is heavy, and it makes dough floppy. If your shaping is already the weak link, adding water gives you a wetter dough that spreads instead of standing, and the loaf comes out flatter and denser than before. The instinct to "add more water for a more open crumb" only works when the dough can hold the gas that crumb depends on.
A moderate hydration is the easier place to learn tension. Around 65 to 75 percent, depending on the flour, gives you a dough you can shape with confidence. Strong white flour handles the upper end; softer flour wants less.
Whole-grain flours need more water to feel the same, but expect a denser crumb regardless. That is the flour, not a fault.
To test it: change hydration by one small step, keep starter, timing and shaping identical, and compare the two loaves side by side.
One-page diagnostic table and when to stop
| Symptom | When you see it | Likely family | First test | First fix |
|---|---|---|---|---|
| No rise at all | Before bake: dough sits flat through bulk | Weak leavening | Feed starter, watch for peak | Build a stronger levain, bake when it peaks |
| Dense gummy crumb with a large tunnel under the crust | After bake | Underproofed or weak shaping | Check crumb shape and dough feel before bake | Extend final proof; tighten surface tension |
| Flat spread | Before bake: no shape holds | Overproofed or overhydrated | Poke test; check dough strength | Shorten bulk or proof; drop hydration slightly |
| Pale, tight crumb | After bake | Weak oven spring | Check oven temp and steam | Preheat longer, add steam, bake hotter |
| Sour smell, slack dough | Before bake | Overfermented | Smell and feel the dough | Shorten bulk, cool the dough |
Dense but sound bread with no mould and a normal smell is usually safe to eat. Discard dough with visible mould or a foul, off smell, and treat dough left out too long at warm temperatures as a separate risk. When unsure, check a reputable food-safety source.
Run one change per bake. That is the fastest route to a loaf you can repeat.
Frequently asked questions
Can I save a dense loaf by baking it longer or at a lower temperature?
No. Once the dough is in the oven, the rise is already decided; extra time only dries the crumb and thickens the crust. A dense loaf is set during fermentation and shaping, so the fix belongs in the next bake, not the current one. Slice it thin, toast it, or turn it into croutons and breadcrumbs.
Why is my sourdough dense only sometimes, even when I follow the same recipe?
Because the recipe is fixed and your kitchen is not. Starter activity, room temperature, flour freshness, and how long bulk fermentation actually took all drift from bake to bake, and a recipe's clock cannot see any of that. Judge the dough by feel and rise percentage rather than the timer, and keep a short log so you can spot which variable moved.
Does a long cold retard always make the crumb more open?
No. A cold retard slows fermentation and builds flavour, but it only helps if the dough went into the fridge with enough fermentation already done. Put an under-fermented dough in the cold and it stays under-fermented; leave a fully proofed one there too long and it can over-proof. The retard is a pause button, not a fix.
How do I adjust my starter feeding if my kitchen is cold?
Feed with lukewarm water, keep the jar somewhere warmer than the counter (near but not on a radiator, or in an oven with the light on), and use a little more starter in the build. Expect it to peak later, so watch for the dome and the smell rather than the clock. If it still will not double within a reasonable window, feed it more often for a few days before baking.
Is it safe to eat a dense sourdough loaf that didn't rise?
Usually yes, as long as it was baked through to a proper internal temperature and shows no mould, stickiness, or off smell. A dense crumb is a texture problem, not automatically a safety one. If the dough sat out unusually long, smells sour in an unpleasant way, or looks slimy, discard it rather than risk it.