AutoWriter AI
How to Start a Podcast With Gear You Can Actually Afford This Week
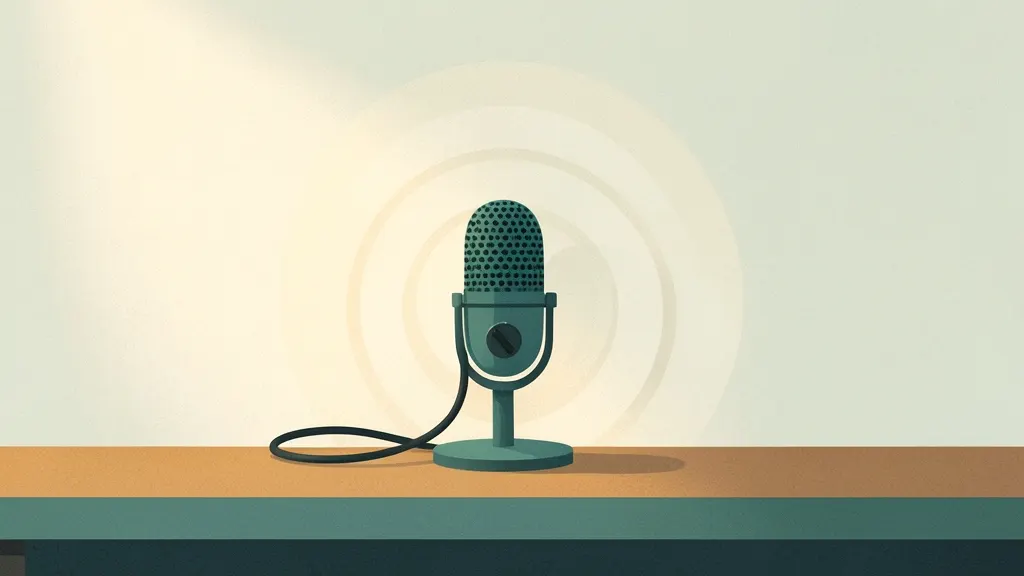
You can spend thousands on podcast gear and still sound worse than someone with one sensible microphone in a quiet room. The cheapest route to a listenable first episode is a small, deliberate purchase plan, and it starts with a single decision that determines everything else: how your mic connects to what you record on.
From there this guide works outward, to the room, headphones, software and hosting, then ends with a clear buy-now and delay-later list. What follows is a plan you can act on this week, not a catalog to browse.
Table of contents
- The One Decision That Sets Your Whole Budget: USB or XLR
- The Room Is Free Equipment: Why You Sound Echoey and How to Fix It Cheaply
- Headphones, Stands, and the Small Parts That Actually Matter
- Recording on a Phone vs a Computer: When Each One Is Good Enough
- Free Software to Record and Edit Your First Episode
- Hosting, the Cost People Forget, and How It Fits Your Gear Budget
- Your Buy-This-Week List and What to Delay Until Episode Five
The One Decision That Sets Your Whole Budget: USB or XLR
Before you compare a single model or price, you make one choice that decides what else has to go in your basket. It comes down to how the microphone connects.
A USB microphone plugs straight into your computer. The preamp (which boosts the mic's weak signal) and the converter (which turns analog sound into digital data) are built in, so there is no extra box to buy. For a solo host recording on a laptop, it is the shortest path from buying to recording.
An XLR microphone uses a three-pin cable and sends an analog signal that something else has to convert. That something is an audio interface: a small box with mic inputs that turns the analog signal into digital audio your computer can record. A mixer does the same conversion job but adds faders and multiple channels for live level control.
Here is why most beginners should skip the mixer. An audio interface does the one job you need, and a mixer's extra channels sit unused while you pay for them.
The real trade-off is simple:
- USB: cheaper, fewer parts, one cable, works in minutes. When you outgrow the mic, you replace the whole thing.
- XLR plus interface: more parts and more money now, but you can upgrade the microphone later without replacing the interface, and adding a second mic for a co-host is straightforward.
Practical rule: if you are recording solo on a computer this week, a USB dynamic microphone is enough. Choose XLR only if you already know you want a two-mic setup or plan to upgrade soon.
The Room Is Free Equipment: Why You Sound Echoey and How to Fix It Cheaply
A bare room is a piece of gear you already own, and it is working against you. Hard, parallel surfaces, meaning walls, floor, ceiling and windows facing each other, bounce your voice back into the microphone a few milliseconds late. Your ears blend that with the direct sound; a mic records both, and the result is the hollow, roomy tone beginners blame on their equipment. A closet full of clothes often sounds better than a spare bedroom, because soft fabric absorbs those reflections instead of returning them.
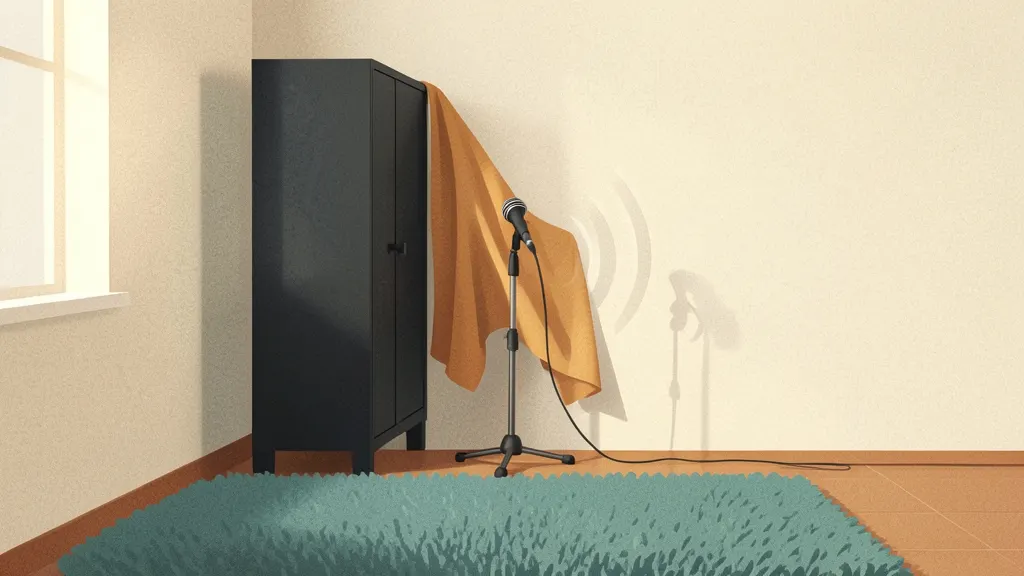
Cheap fixes, in rough order of impact:
- Shrink the room. Record in the smallest space you can tolerate. Smaller rooms produce shorter, less audible reflections than a large open living room.
- Hang something soft behind you and to your sides. A duvet, a thick blanket or a coat on a curtain rail breaks up the biggest reflections. Behind the mic matters less than behind the speaker.
- Soften the floor. A rug on hardwood or tile removes a strong, close reflection that hits the mic directly.
- Close the curtains and, if you can, record at a time when traffic and appliances are quiet.
- Move the mic off the wall. Give it at least a metre of space behind you and avoid facing a bare wall or window.
Skip foam panels sold as "studio treatment" for now. The thin, cheap ones mostly absorb high frequencies and do little for a speaking voice. Proper acoustic panels can wait until you know your setup is permanent.
Be realistic about the result: these fixes reduce echo, they do not remove it. Every room has some reflections. The goal is a dry, close sound, not silence.
The cheapest improvement is technique. Speak a few inches from the mic, fit a pop filter or foam windscreen, and angle the mic away from the centre of the room rather than pointing it into open space.
Headphones, Stands, and the Small Parts That Actually Matter
Your microphone gets the attention, but the small parts around it decide whether your recording is usable. Here is what each one does, and when to buy it.
Closed-back headphones have sealed earcups that keep sound in and room noise out. You need them to hear your own recording without that sound bleeding into the mic, which is exactly what happens with open-back models. A basic pair is enough. You do not need studio monitors to record a podcast.
A pop filter or foam windscreen softens plosives: the puffs of air on P and B sounds that thump the microphone. They cost very little and are worth having from day one.
A microphone stand or boom arm gets the mic off the desk and close to your mouth. A plain desk stand works fine. A boom arm is nicer to use but not essential for episode one.
A shock mount is a cradle that holds the mic and reduces thumps and desk vibration. Useful, but you can start with a cheap mic on a stable stand and a light touch.
What to skip for now: an audio recorder (your phone or computer can record), a second microphone before you actually have a co-host, and any gear that solves a problem you have not heard yet.
Recording on a Phone vs a Computer: When Each One Is Good Enough
If you own a phone and a laptop, you already have two recording devices. The question is which one to open.
Phone recording suits a solo voice memo or a quick interview in a quiet room. A lavalier mic (a small clip-on mic) plugged into the phone, or the built-in mic held close, can capture a clean take. But it is not automatically good enough, and it is not automatically bad. Distance and the room matter more than the device: a phone held 20cm from your mouth in a carpeted bedroom will often beat a laptop across a bare kitchen.
Computer recording wins on workflow. You edit on the same machine, files land in a folder you can find, and a USB mic plugs straight in. If you already own a USB mic, the laptop is the natural home for it.
The audio recorder app is the software on your phone that captures the file. Pick one that records in WAV (uncompressed audio) or a high-quality compressed format, and check you can export the file easily before you rely on it.
For remote guests or a co-host, have each person record a local track on their own device, using a call recorder or a shared recording platform. That avoids buying extra hardware.
Then test it. Record 30 seconds in your intended space on both phone and computer, listen on headphones, and pick whichever sounds clearer to you.
Free Software to Record and Edit Your First Episode
A DAW (digital audio workstation) is the program where you record, cut, and export audio. Two free options cover almost every first episode: Audacity, which runs on Windows, Mac, and Linux, and GarageBand, which comes preinstalled on Macs. If you record on your phone, you can edit there too, but moving the file to a laptop gives you more control.
A first edit is simpler than it sounds. You will:
- Trim dead air at the start and end, and cut long pauses
- Remove mistakes and false starts
- Balance levels so your voice sits at a steady volume
- Add an intro and outro, even if they are just you talking
- Export as MP3
That is the whole job. The free tools handle a single voice track and basic cleanup without strain.
Paid software earns its price when you hit a specific wall: heavy noise reduction, multi-track editing with several remote guests, or a workflow that saves you real hours. Until then, spending there takes money from your microphone or your room.
One practical note on the learning curve: pick one DAW and stay with it for your first few episodes. Switching tools each week means relearning the same basics instead of getting faster.
Hosting, the Cost People Forget, and How It Fits Your Gear Budget
A microphone captures sound. Hosting is what turns that sound into a podcast.
Hosting is a service that stores your finished audio file and generates the RSS feed. That feed is the list of episodes that podcast apps like Apple Podcasts and Spotify read. No hosting, no feed, and your episode stays a file on your laptop.
This matters because hosting is a subscription, not a purchase. Your microphone is bought once. Hosting bills every month or year, so it competes with gear for the same money.
A modest mic plus reliable hosting beats a great mic with no way to publish. Before you pick a host, check four things:
- Storage and bandwidth limits, since long episodes and growing audiences use more.
- Whether there is a free tier or trial, so you can test before paying.
- How easily you can export your feed if you switch hosts later.
- Whether the plan fits your budget for a year, not just a month.
For current plans and features, see the site's podcast hosting compared page rather than relying on prices quoted elsewhere.
Your Buy-This-Week List and What to Delay Until Episode Five
Buy or borrow now: one microphone (USB dynamic if you are recording solo into a computer; XLR plus an audio interface if that is the path you chose), closed-back headphones, a pop filter, and a stand or boom arm. Delay until episode five: a second microphone, a mixer, acoustic panels, a shock mount, and any paid DAW or editing service. Use what you own: your phone as a backup recorder, your existing laptop, free Audacity or GarageBand, and a blanket fort in a quiet, soft-furnished room.
- Lock in USB or XLR today. Write the choice down. Every other purchase depends on it, and switching later usually means rebuying cables or an interface.
- Set up in the quietest soft-furnished room you have. Curtains, rugs and a bed absorb reflections. A blanket fort around the mic beats a bare box room.
- Record a 60-second test. Say something in your normal speaking voice, then listen back on headphones. This is the step most beginners skip.
- Adjust distance and room, then retest. Move closer to the mic, add soft furnishings, and listen again. Fix the free things before buying anything else.
- Plan episode one. Gear is settled, so switch to content: follow how to plan episode one and write your outline.
Your next step today: choose USB or XLR, then record that 60-second test in your quietest room.
Frequently asked questions
Can I use a gaming headset as my podcast headphones instead of buying closed-back ones?
Often yes, as long as it fits over your ears and seals reasonably well. Closed-back simply means the cups block outside sound from leaking in, which helps you hear your own recording clearly. A gaming headset usually does that job; borrow one before spending money on a dedicated pair.
Do I need an audio interface if I buy a USB microphone?
No. A USB microphone has the interface built in: it converts sound to digital audio and plugs straight into your computer. An audio interface is only needed for XLR microphones, which output an analog signal that something has to convert. That is the main reason USB is the cheaper starting point.
How do I record a remote co-host if we both only have USB mics and laptops?
Use a call recorder that captures each side locally, or have each of you record your own track and combine them in editing. Recording locally avoids the dropouts and compression that come with recording a call. A simple count-in clap at the start makes aligning the two tracks easy.
Is it worth buying a used microphone to save money?
It can be, if you can test it first or buy from a seller with returns. Listen for crackle, hum or a loose connector, and check that any needed cable or mount is included. For a first microphone, the savings are usually modest, so weigh them against the risk of a faulty unit.
What file format should I export my first episode in?
Export as MP3 at 128 kbps or higher, which nearly every podcast host and app accepts. WAV files are larger but useful if you want to keep an uncompressed archive. Check your host's recommended settings before you export, since some ask for specific bitrates.