AutoWriter AI
Your Tap Is Dripping: Read the Drip, Then Decide If You Can Fix It
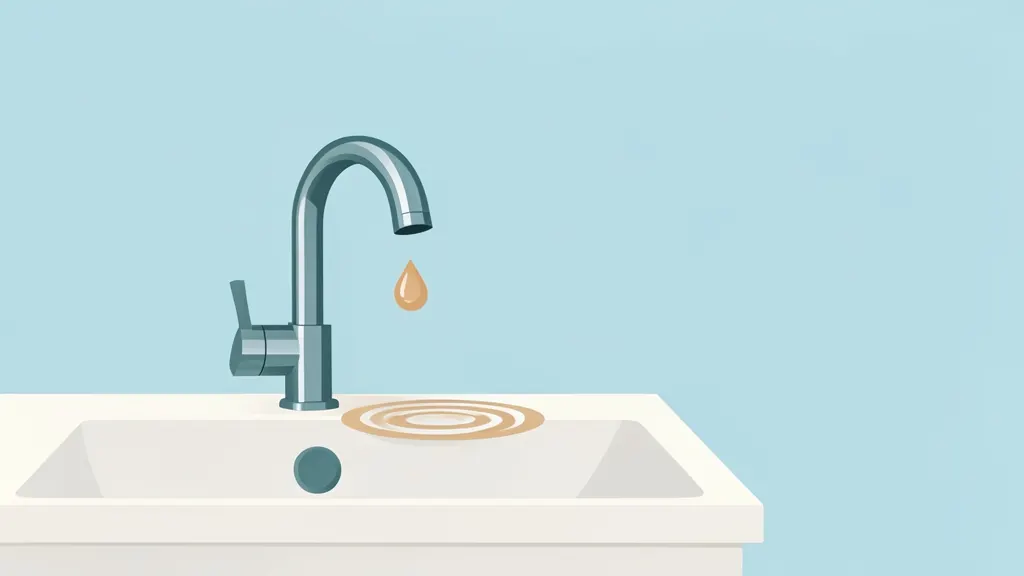
A tap dripping from the spout is usually a washer, a cartridge or a worn valve seat, and most spout drips on a traditional tap are a 20-minute fix with a screwdriver and a new washer. The same drip from a ceramic disc or cartridge tap is a different job, often a straight cartridge swap.
Where the water exits and what kind of tap you have decide both the cause and whether this is a DIY afternoon or a call-out. So start by reading the drip, not by reaching for a spanner.
Table of contents
- Where the water comes out tells you what is wrong
- The three tap types, and how to identify yours before you buy parts
- Shutting off the water safely, including in older homes
- Replacing a washer on a compression tap, step by step
- Ceramic and cartridge taps, and when to stop and call someone
Where the water comes out tells you what is wrong
Before you reach for a spanner, watch where the water appears. A dripping tap is a symptom, and its location narrows the fault to one of a few areas. Dry the tap and the surrounding sink with a cloth, then watch for a minute and note exactly where the first bead forms. That single observation often tells you which parts you need.
- Drip from the spout: the valve inside is not sealing. The fault sits in the washer, cartridge or ceramic disc, not the body of the tap. This is the classic dripping tap and usually the most straightforward repair.
- Drip or seep from under the handle: the gland nut or packing nut, an O-ring, or a worn spindle seal. Different parts, different fix. If water also shows elsewhere, check for signs of a hidden leak before assuming it is only the tap.
- Water at the base, where the tap meets the sink: often the O-ring or the seal between body and sink. From above it can look like a spout drip, so trace the water upward.
- A drip that only starts after the tap is used: this points to a seal that reseats slowly rather than a failed washer.
The three tap types, and how to identify yours before you buy parts
Before you buy anything, work out which of the three mechanisms you have. The handle is your first clue, but confirm it with the second test: how far you turn the handle from closed to full flow.
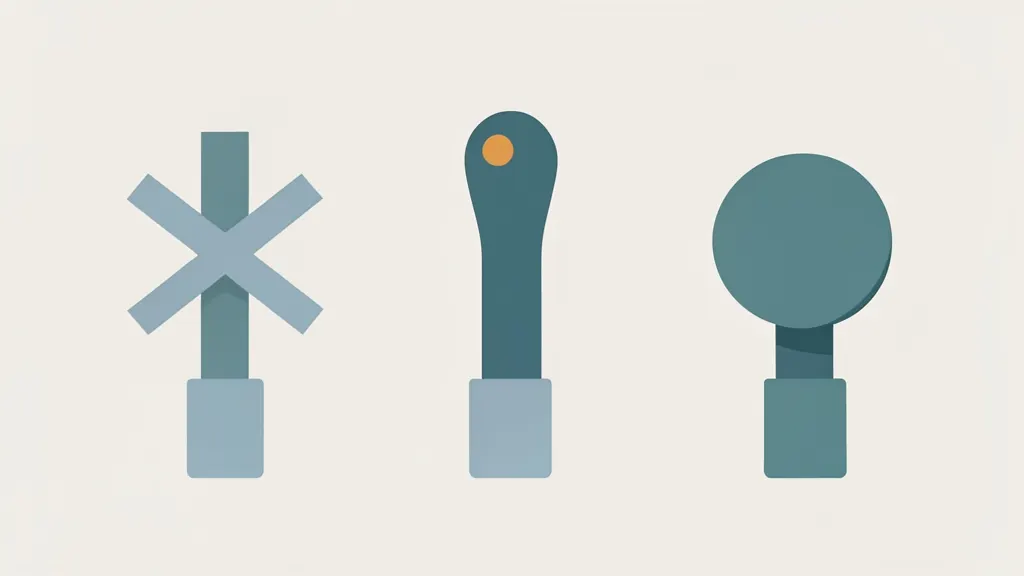
| Tap type | Handle style | Turn to full flow | What's inside | Part you replace |
|---|---|---|---|---|
| Compression (washer) | Usually two separate handles, hot and cold | A quarter turn or more, often a full turn | A rubber washer on a jumper valve, pressed onto a brass valve seat | The washer (and jumper if worn) |
| Ceramic disc | Often a single lever, sometimes a quarter-turn handle | About a quarter turn | A pair of ceramic discs inside a cartridge | The cartridge, or the discs if sold separately |
| Cartridge | Usually a single lever | A quarter turn or a short sweep | A sealed cartridge unit | The whole cartridge |
If the handle turns smoothly through a long arc with a bit of resistance near the end, it is almost certainly a compression tap. A short, firm quarter turn points to ceramic or cartridge.
Still unsure? Isolate the water, unscrew the headgear (the chrome cover and body above the spout), and look inside before you go shopping.
Then match the part precisely. Take the old washer or cartridge with you, check diameter and thickness against the new one, and photograph the cartridge body and any markings on it.
Shutting off the water safely, including in older homes
Before you touch the tap, isolate it. A repair done with the supply live turns a drip into a flood.
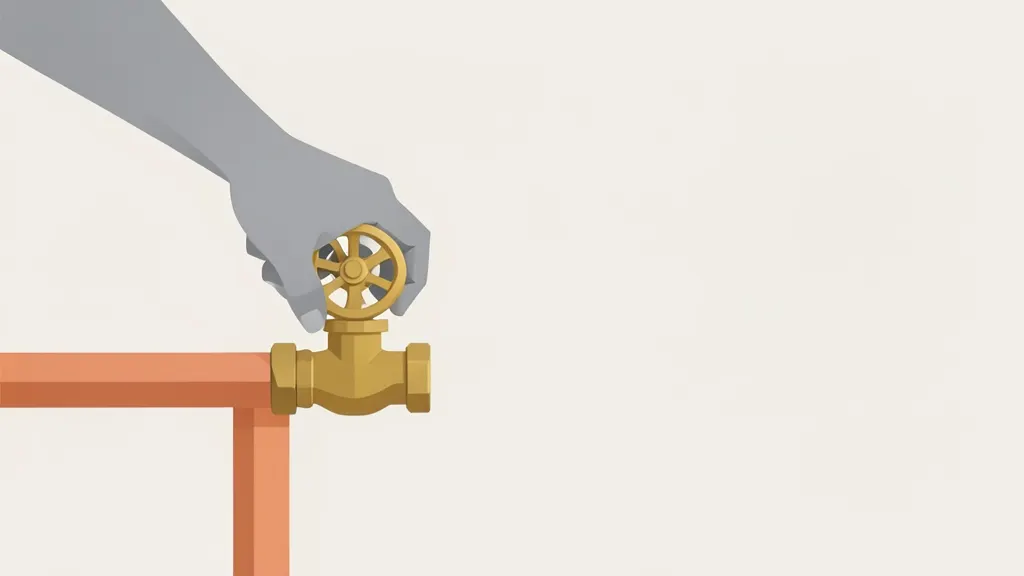
- Look under the sink for a small isolating valve on the pipe feeding the tap: often a slotted screw you turn with a flathead, or a small lever. Turn it a quarter turn. This is the easiest option because it leaves the rest of the house supplied.
- If there is no valve, find the stopcock, usually where the mains enters the house: under the kitchen sink, in a cupboard, or near the front wall. Turn it clockwise to close.
- In older homes the only shutoff may be the water meter outside, which cuts everything. Plan the job around that: fill a bucket, tell the household, and work in one session.
- Open the tap fully after isolating. No water means you are safe; it also drains residual pressure so the tap does not spit at you.
- If a valve will not turn or weeps when turned, stop. Treat it as its own repair first. A seized stopcock that snaps mid-job is far worse than a dripping tap. If the drip is at a drain rather than a tap, see how to unblock a sink separately.
Replacing a washer on a compression tap, step by step
With the water off, line up an adjustable spanner, a screwdriver, a cloth, the correct replacement washer, and a jumper valve if the old one is worn. Then:
- Unscrew the headgear. Wrap the chrome in the cloth to protect it, then turn the nut that holds the spindle assembly. Keep the parts in the order they come out.
- Lift out the spindle and remove the old washer and jumper valve. Note which way up they sat. Scrape gently; a screwdriver dug into the valve seat leaves a groove that no new washer will seal against.
- Inspect the seat. Run a fingertip around it. Corrosion or a visible ring means it needs reseating or replacing, because a rough seat will chew a new washer.
- Refit in reverse, seating the jumper valve and washer squarely.
- Tighten the gland nut only until it stops weeping, then open the water slowly and watch for drips.
If the spindle is seized or snaps, or the seat is badly corroded, stop and get help rather than forcing it.
Ceramic and cartridge taps, and when to stop and call someone
Ceramic and cartridge taps are usually fixed by swapping the whole cartridge, not rebuilding it. Before buying one, take the old cartridge out and rinse the seating area: grit trapped under the disc is a common cause of a drip, and a clean-up sometimes settles it. If the tap body is sound and the cartridge is still available, replace the cartridge rather than the entire tap.
Stop and call a plumber if:
- Water will not shut off at any valve
- The spindle is seized or snapped
- The valve seat is deeply corroded
- The tap is concealed, or sits on a pressurised system you do not understand
While you wait for parts, close the isolating valve and leave the tap open, or tie a cloth around the spout to dull the noise.
Where the stakes are high, a plumber is the cheaper option.
Before you finish:
- Identify the tap type first
- Isolate the water and confirm it is off
- Match the washer or cartridge before reassembling
- Clean debris from ceramic and cartridge taps
- Stop if a valve will not close or a spindle is damaged
Frequently asked questions
Can I use the tap while I wait for a replacement cartridge?
Usually yes, as long as the tap still shuts off and the drip is going down the drain rather than pooling under the sink. Turn the tap firmly closed after each use and check the cabinet below for damp. If the tap no longer stops the flow or water appears around the base, leave it off and use another tap until the part arrives.
Why does my tap drip only when the hot water is running?
This usually points to a washer or seal that only leaks once heat expands the metal and softens the rubber, so the drip appears as hot water reaches the tap. It can also mean a mixer cartridge is passing between the hot and cold sides. Note which outlet drips and whether the water runs warm, since that narrows down the part before you take anything apart.
Is it worth replacing the whole tap instead of hunting for an obsolete cartridge?
Often yes, especially on a basic tap where a new unit costs little more than a rare cartridge plus the time spent searching. Weigh it up by checking the tap's age, whether the spout and body are still in good condition, and whether the model is still supported. On a good-quality tap that matches your kitchen or bathroom, tracking down the correct cartridge is usually the better call.
What should I do if the isolating valve under the sink is stuck open?
Don't force it hard, because a snapped valve spindle turns a small job into a flood. Close the main stop valve instead, then open a cold tap to confirm the supply is off before starting work. Once the repair is done, have the stuck isolating valve replaced, since you'll want it working the next time something leaks.